DietPi is a scaled-down lightweight Debian OS distribution that can run on a variety of platforms. In this post, I'll show you how to install the VMware version on ESXi.
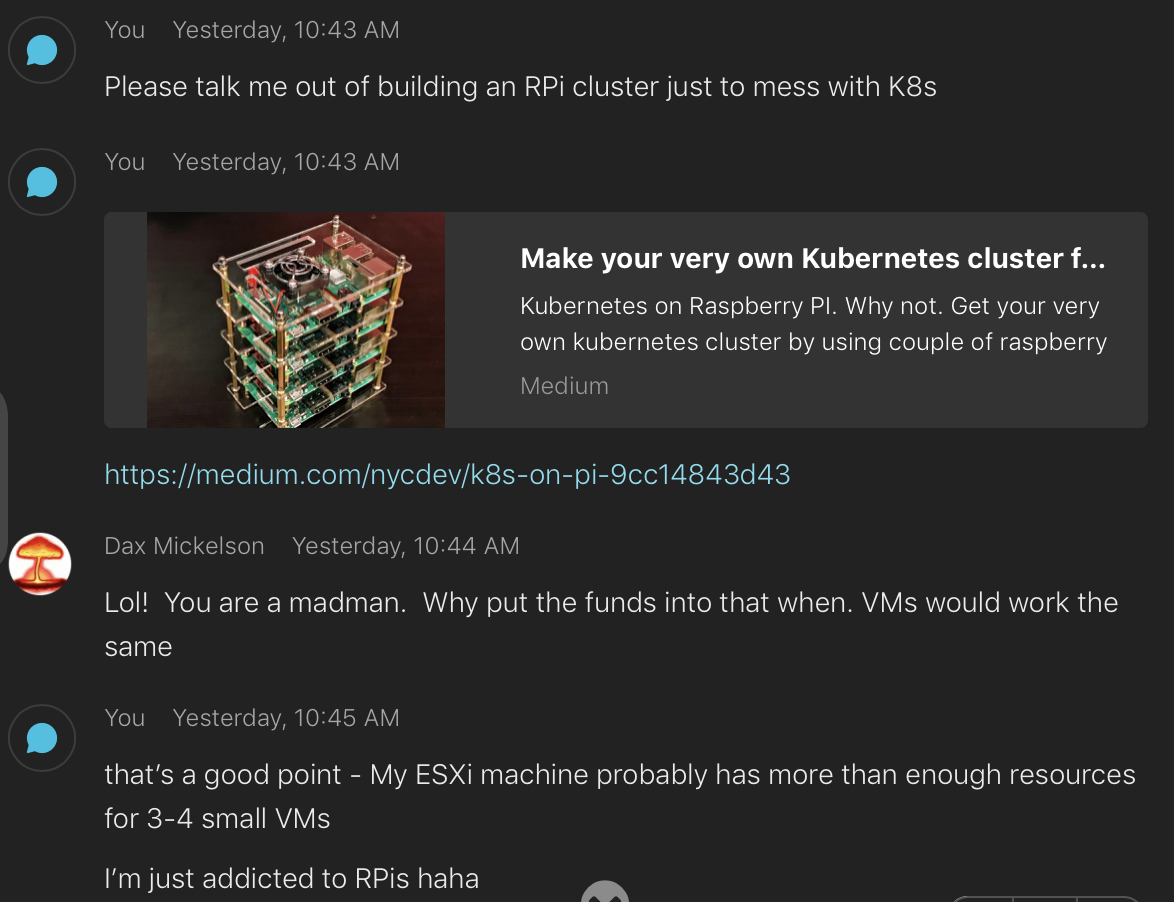
This post was inspired by the following exchange with a colleague:
Why DietPi?
Sometimes you just want a basic Linux machine to test with for a few minutes or hours, but you don't want to deal with the time it takes to download a whole distribution, create a VM, configure it, go through the initial setup, etc. As flexible as Ubuntu is, it's not exactly lightweight, either.
Doing your testing with a Raspberry Pi can make this process a bit easier, but you still have to download an image, find a microSD card, make sure you don't already have something on it, and then burn the image to it. Even after that's done, your RaspberryPi is now unavailable for other, more steady-state, uses.
Enter DietPi.
What is DietPi?
As you might have already guessed (especially if you read the lede), DietPi is an extremely lightweight Debian OS image that runs on a variety of platforms. Although its creation and development is focused on single-board computers (SBCs) like the Raspberry Pi and Odroid, it's also available in virtual format for VMware, VirtualBox, and Hyper-V. It comes with a really slick interface for common configuration and interface tasks, and a solid set of DietPi optimized software packages that can be added post-install.
If it's so easy, why did you write this post?
Short answer: The VMware distribution of DietPi is created for VMware Workstation, and I run ESXi using the web console (ie. no vSphere Client or vCenter), so there's no easy way to convert the distribution for my purposes.
Or is there?
Prep VMware ESXi
Here's how I managed to get things going.
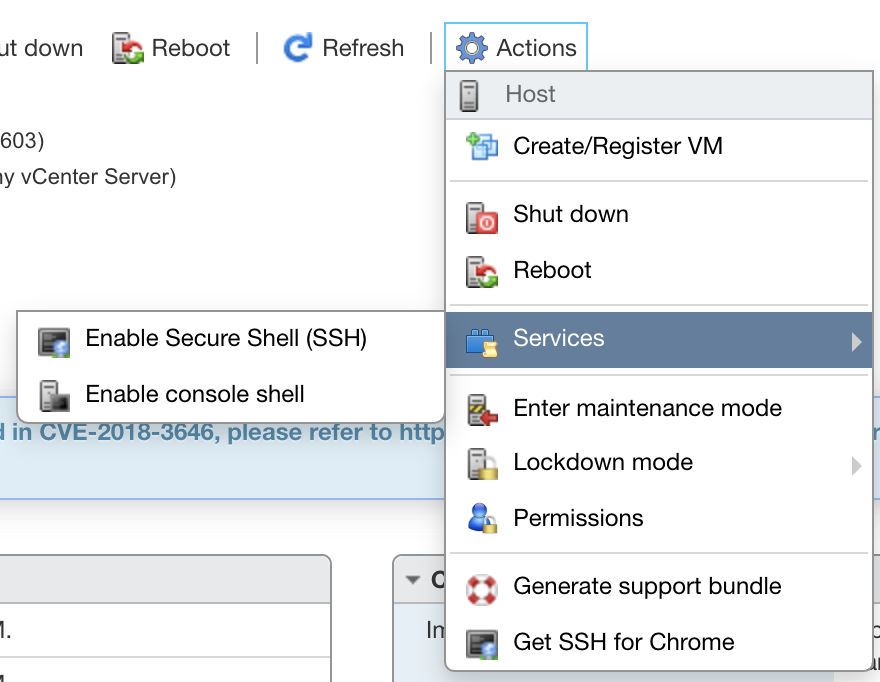
The first thing we need to do is to enable the ESXi console shell and SSH server on ESXi, because we need to get the DietPi distribution to a datastore and have access to the CLI on our host.
In the ESXi web client, you enable them under the Actions menu:
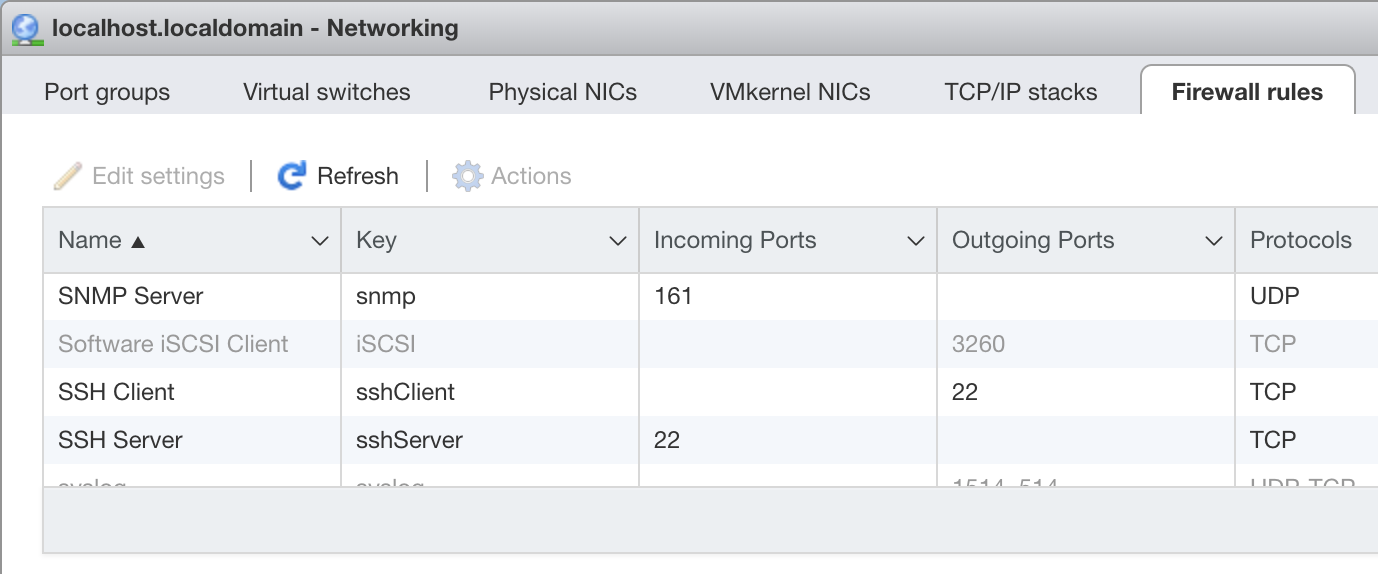
You might also want to enable the SSH client on your ESXi host to make it easier to SCP from the host itself. This is done under the Networking sidebar, on the Firewall rules tab:
Download and convert the image
Next, download the DietPi VMware image from https://dietpi.com
Note: The current image is
DietPi_VMware-x86_64-Buster.7z, so you will have to download it to a device that can uncompress the 7zip format.
Copy the resulting directory to a datastore on your ESXi host. You can do this either with SCP or using the Datastore browser in the ESXi web client.
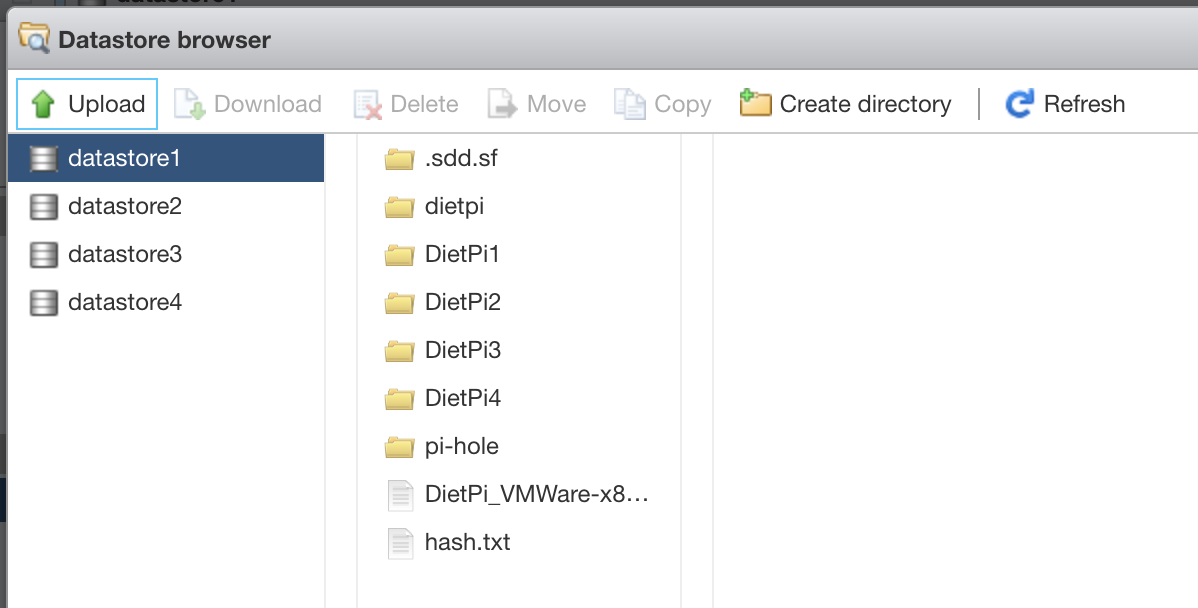
The archive contains four files - We really only need the DietPi_VMware-x86_64-Buster.vmdk file for our purposes:
Now we're going to convert the VMware Workstation .vmdk file to a file useable by ESXi using the vmkfstools -i command, which will clone and convert the file:
vmkfstools -i DietPi_VMware-x86_64-Buster.vmdk DietPi_VMware_EXSi.vmdk
That's all we need to do in the ESXi CLI console. The rest can be done from the web console.
Create the VM
UPDATE (1/23/2022): The latest version of DietPi (Bullseye) requires the "Guest OS version" below to be set to "Debian GNU/Linux 11 (64-bit)."
Finally, we just have to create a new virtual machine in ESXi and assign the new converted disk as the VM's Hard Disk.
Click "Create / Register VM"
Select "Create a new virtual machine" and click Next
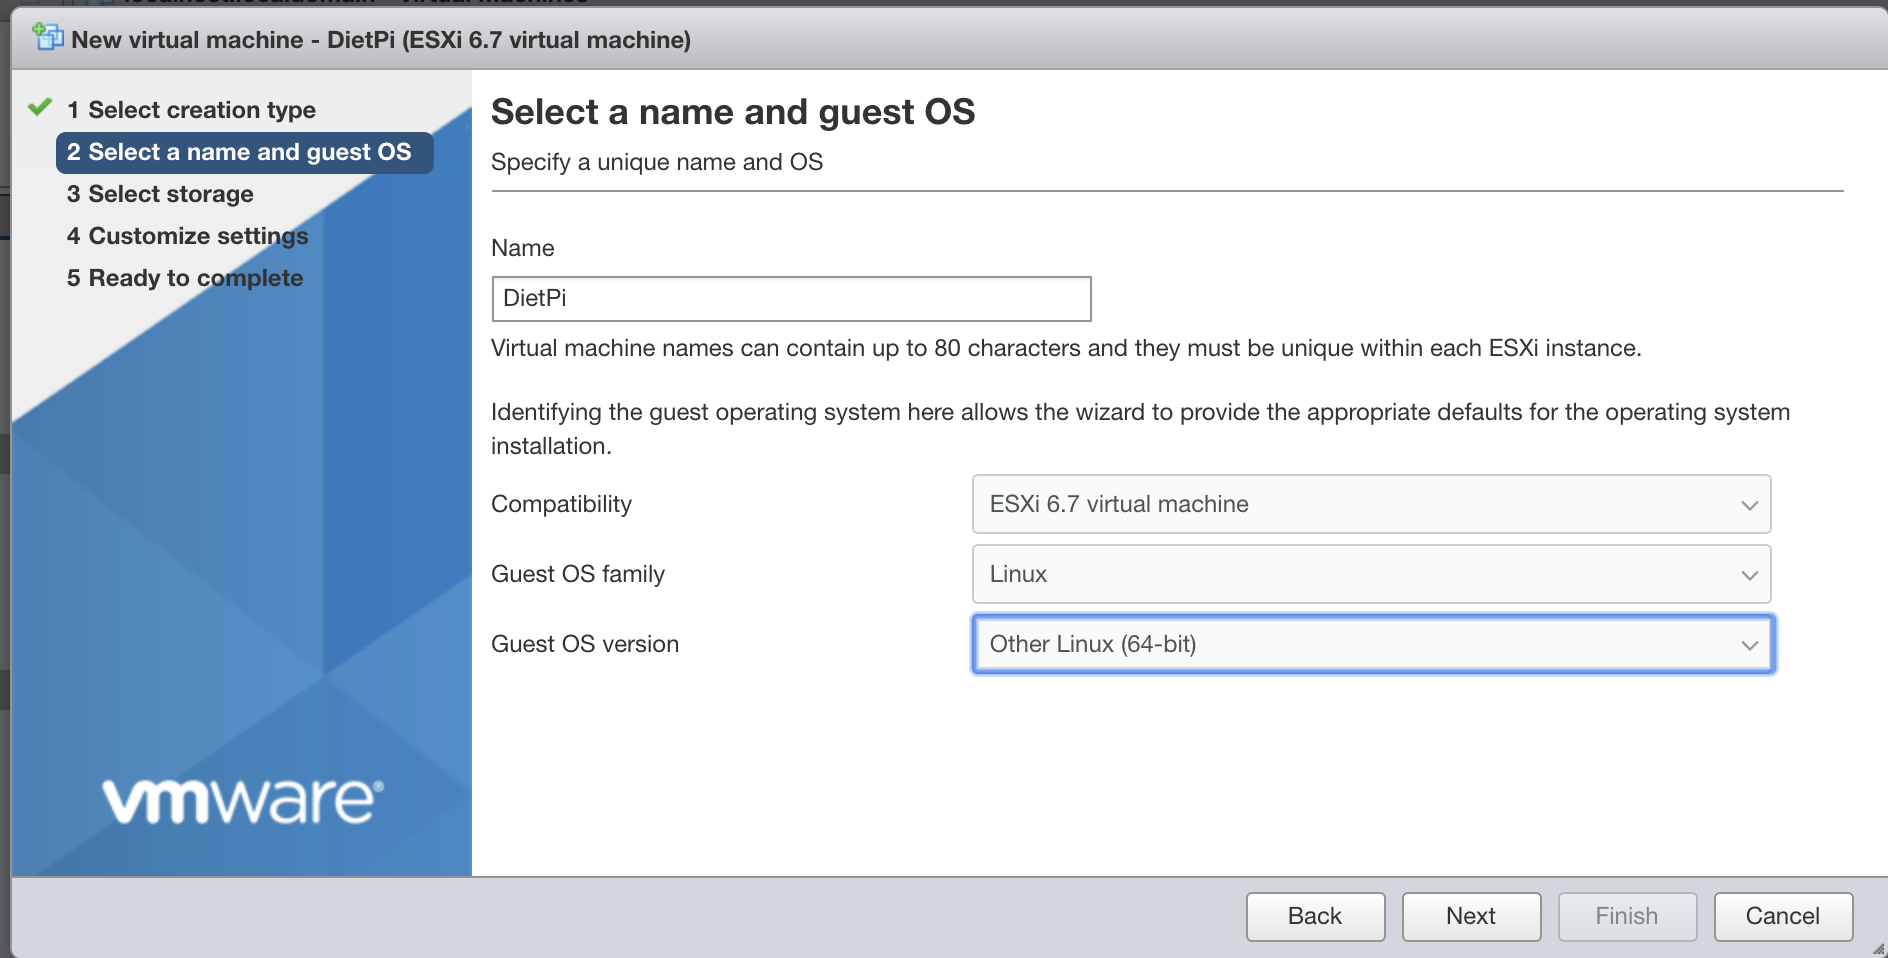
Give the new VM a name. I suggest naming it the same as the directory that you copied the DietPi VM in so that everything will be kept together. Use the following options in this screen and click Next.
- Compatibility: ESXi 6.7 virtual machine
- Guest OS family: Linux
- Guest OS version: Debian GNU/Linux 11 (64-bit)
Select a datastore to keep your new VM in. Again, I suggest selecting the same datastore that you copied the DietPi files into. Click Next.
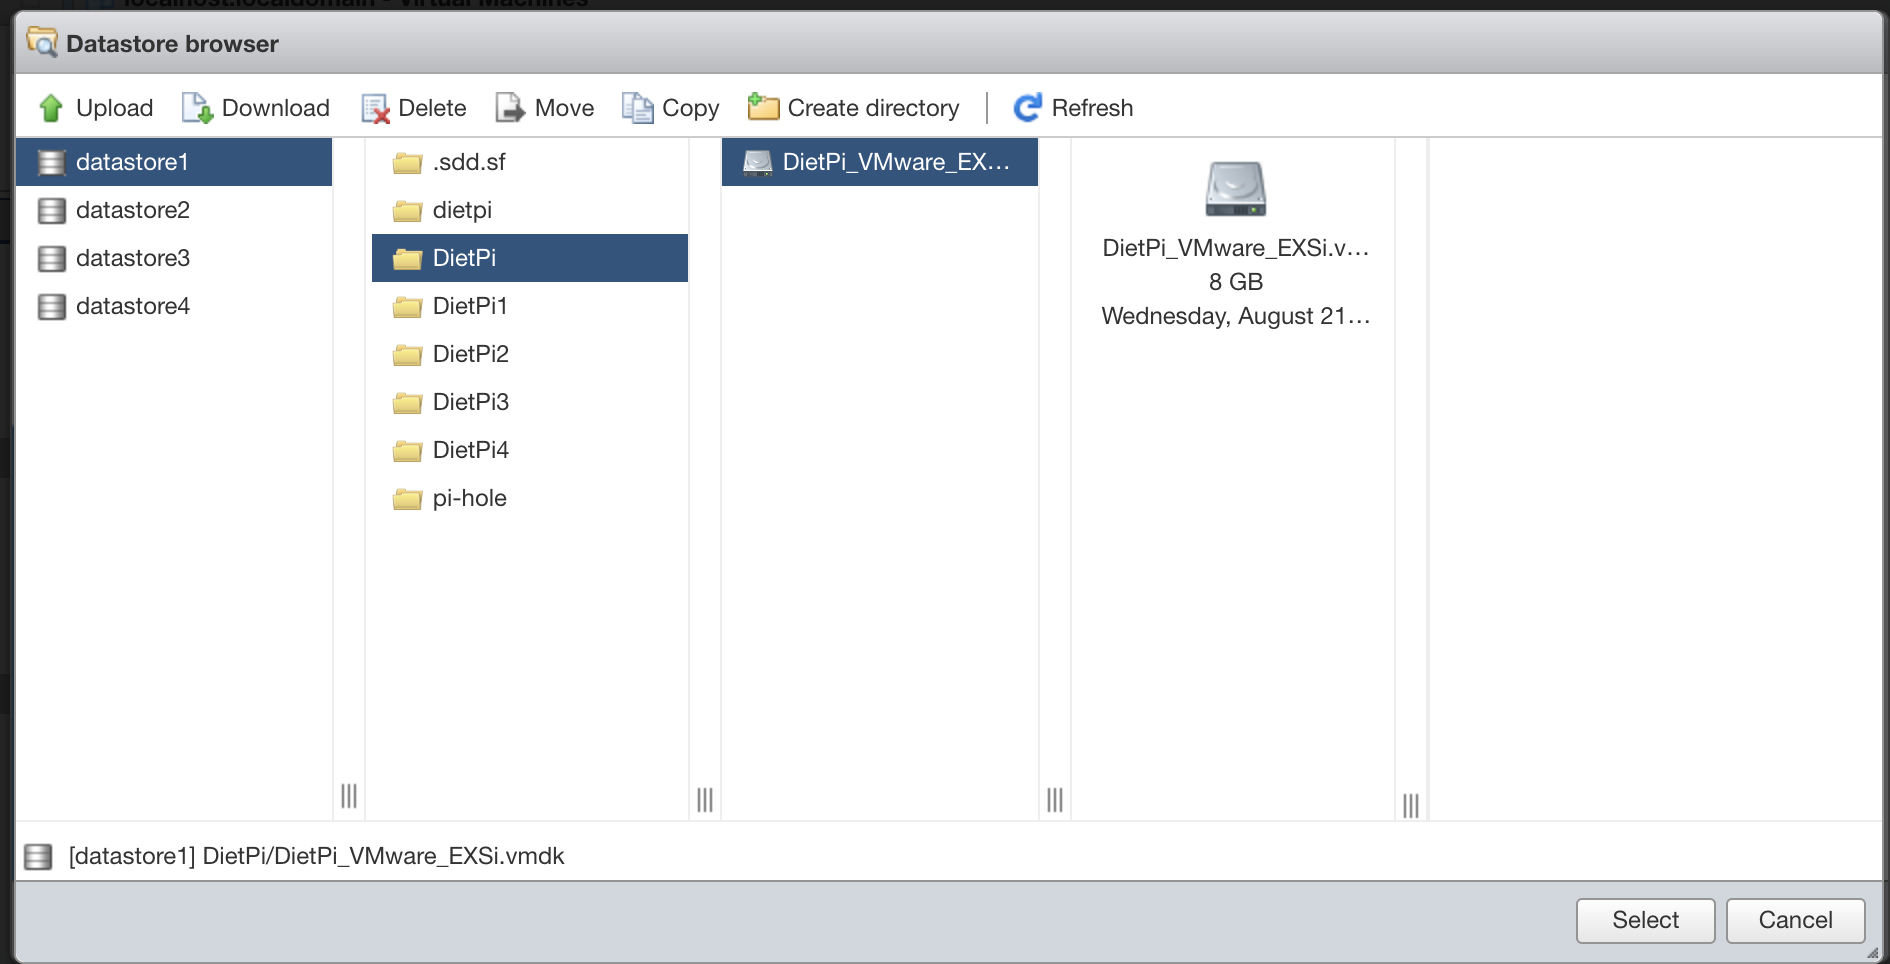
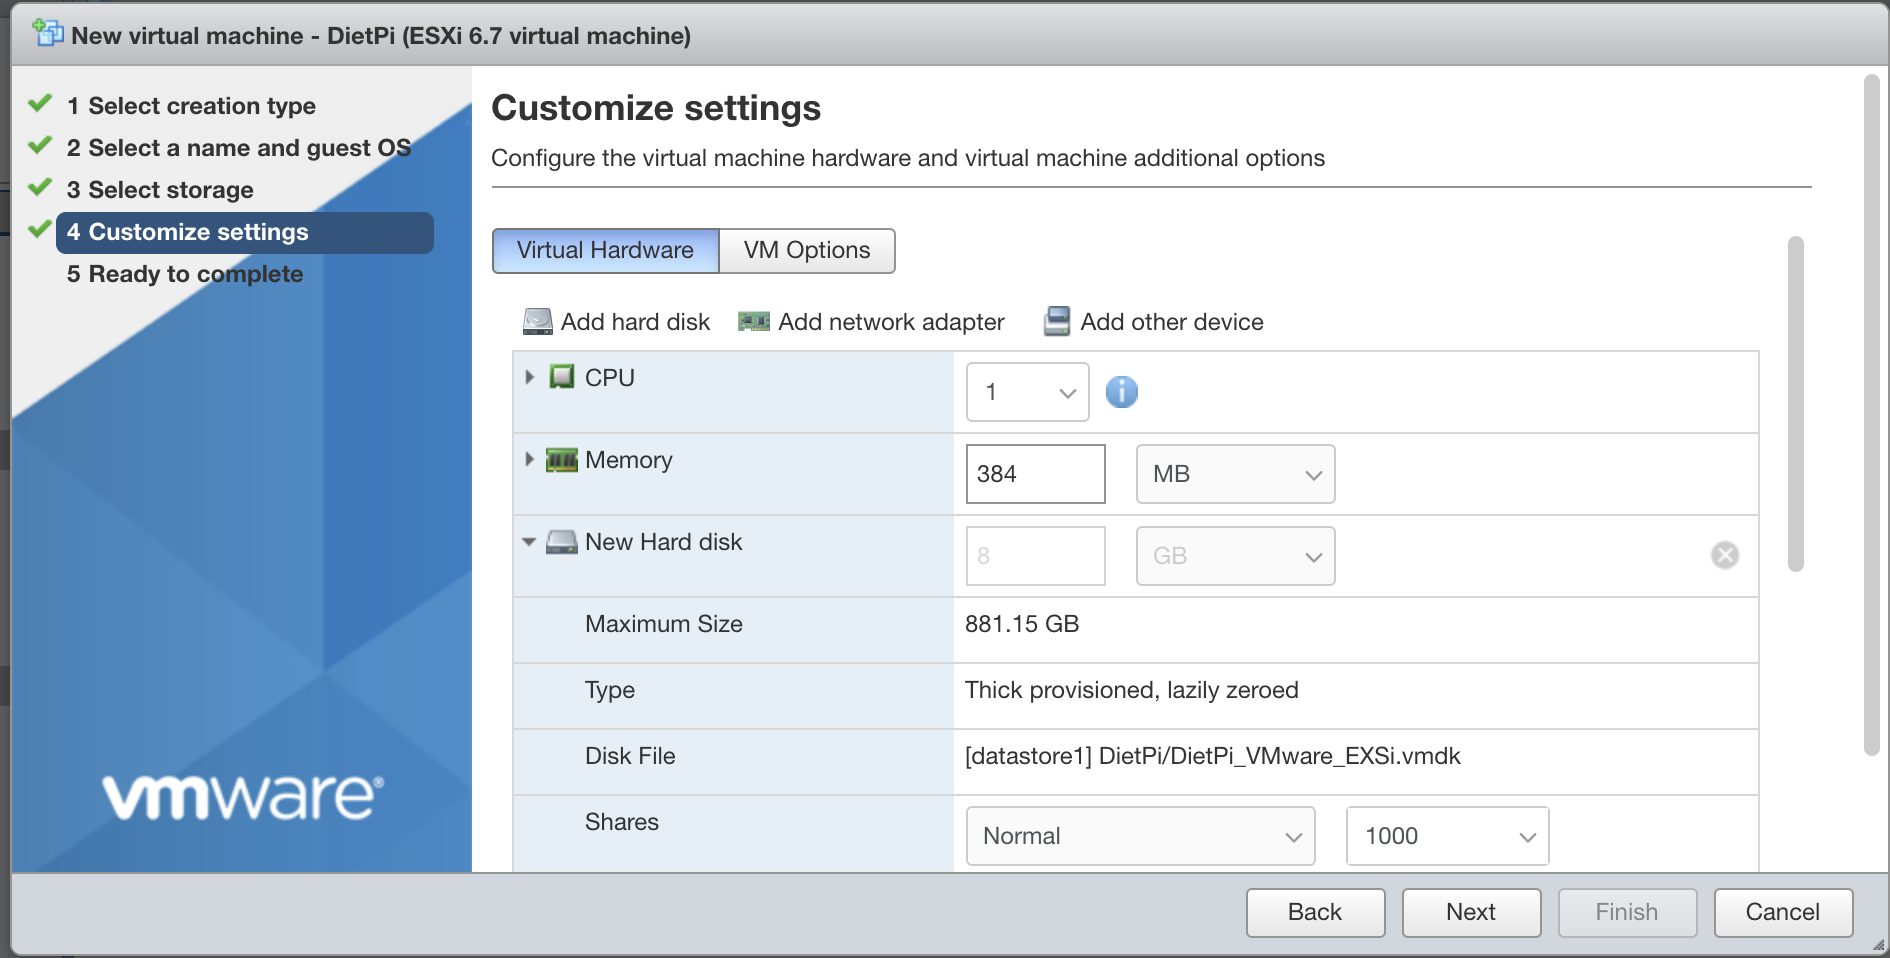
In the Customize settings screen, you can increase the amount of memory assigned to the VM (I keep mine small for my purposes). The important thing to do here is to delete Hard disk 1 by clicking the "x". Then select "Add hard disk" and select "Existing hard disk." You can then choose the converted disk image that we created above.
Click Next, and then Finish.
And we're done!
Running your new VM
Start your new DietPi VM, and you should get a login screen like this:
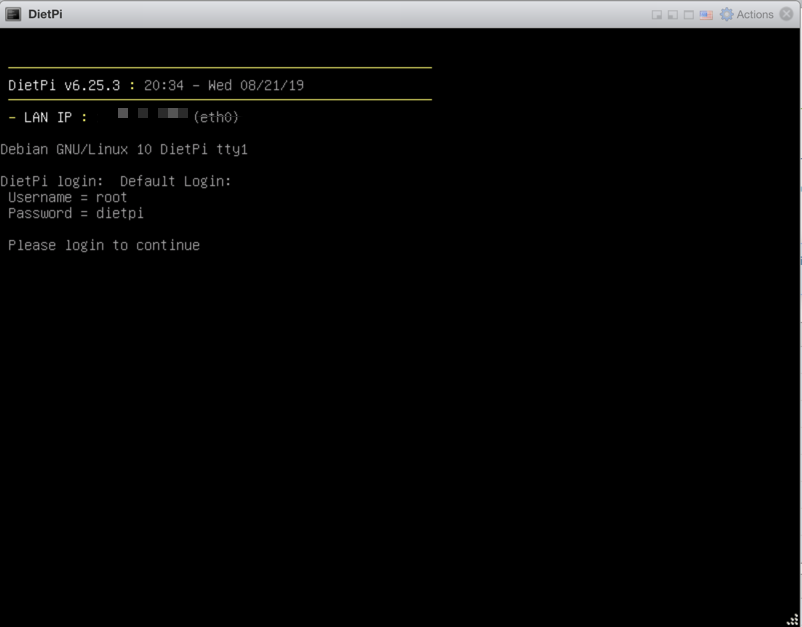
After logging-in, you will go through the first time setup process of DietPi that will perform some updates, allow you to change the default passwords, and install any packages that you would like to use.
How are you using DietPi? Feel free to leave comments below or Tweet them at me @eiddor.