Imagine being able to run third-party applications directly on your Cisco network devices for troubleshooting, monitoring, or even services. We can now take advantage of the power and placement of these devices without having to connect external probes or sensors.
This post was inspired by this demonstration project.
It wasn't that long ago (ok I guess it was) that network switches were considered just a step up from network hubs. Less flooding and broadcast traffic cluttering up your network, segmentation at layer 2 using VLANs, multiple links between devices without having to worry about loops. Then the mid-2000s brought us "layer 3" switches with more functionality. The ability to actually make routing decisions directly on our switches between multiple VLANs without traffic having to go to a dedicated router first (remember "router on a stick?") Powerful platforms such as the Cisco Catalyst 6500 series became commonplace in all layers of the network and network engineers were given a lot more options to customize and optimize their network topologies.
Note: I also use this introduction while talking to customers about Cisco Software-Defined Access, so stay with me.
And there we stayed for a good 15 or 20 years, with switching platforms growing more powerful with each generation, but their main functions being pretty much fixed. Meanwhile the way we used our networks changed, not only in scale, but also requirements - it's no longer only desktop machines trying to connect to the Internet, email, storage, and application servers. We now have everything connected to the network; mobile devices, soda machines, security cameras, door locks, cash registers, lights.... LIGHTS!!
A switch's main responsibility was still to move packets from one place to another as quickly and as efficiently as possible while also providing some amount of high availability/redundancy. However, as more types of devices and applications were deployed across the network, the monitoring and troubleshooting demands also increased. We needed to know not only what was on our network, but how our network was performing end-to-end and how applications were performing across our network. Physical network probes and sensors definitely helped us here, but they required power and ports, and weren't very portable or scalable.
What about network services such as DHCP and DNS? In the past we'd have to have a dedicated host or server to be able to provide these services to a local site for survivability.
The Cisco Catalyst 9000 series introduced application hosting support, which allows you to take advantage of a switch's CPU, storage, and network placement to host monitoring and service applications directly on the switch. There are plenty of guides on the Internet that walk you through this using the switch's CLI. In this post I'll show you an example of how to deploy such applications in a simpler manner using Cisco DNA Center. The examples that I'm using here are Docker containers, however there official applications available that are designed for use with Cisco Catalyst 9000 series switches such as ThousandEyes and Cyber Vision.
Running a Linux desktop with Wireshark on a Catalyst 9300 switch
Note: The below containers are used only to demonstrate this feature, so they are in no way tuned or locked-down for a production environment. DO NOT run these containers outside of a lab or demo environment. DO NOT run these containers on production switches.
Note2: Seriously, DON'T.
Now that you've read the above two warnings carefully, we're going to go ahead and deploy a Linux desktop to our Catalyst 9300 switch as a Docker container using Cisco DNA Center. This container also contains Wireshark which could be used in conjunction with a SPAN to capture and analyze network packets.
The Cisco Catalyst 9300 already has packet capture support for Wireshark and native pcap, so this particular use-case is redundant, but it works for demonstrating application hosting.
To do this, you will need:
- Cisco Catalyst 9300 switch (I'm using a C9300-48U) running IOS-XE 17.x with attached SSD or USB storage
- Cisco DNA Advantage licensing for the Catalyst 9300
- Cisco DNA Center v2.x or higher
- A workstation with Docker (to prepare the container for deployment)
For the container, we will be using this image (repo: here). It's a simple Alpine Linux container (based on this image) with xfce4, x11vnc, and Wireshark installed. We're using it only to demonstrate the application hosting functionality. Once it is up and running, we'll be able to connect to it with VNC to see the Linux desktop, and load Wireshark.
The process is quite simple:
- Prep the Docker image for deployment
- Add the application image to Cisco DNA Center
- Deploy the application to the Catalyst 9300 switch using Cisco DNA Center
- Test the application
That's it - really!
Prep the Docker image for deployment
On your workstation with Docker on it:
docker pull roddie/docker_alpine-vnc-wireshark:latest
This will pull the Docker image from Docker hub to your workstation.
Next we will save the image to a file named cat9kwiresharek.tar that we can deploy with Cisco DNA Center.
docker save -o cat9kwireshark.tar roddie/docker_alpine-vnc-wireshark:latest
Now, take the resulting file cat9kwireshark.tar and copy it to the workstation that you use to connect to the Cisco DNA Center (if it's different).
Add the application image to Cisco DNA Center
Now that our application image is on our workstation, we can add it as an Application in Cisco DNA Center.
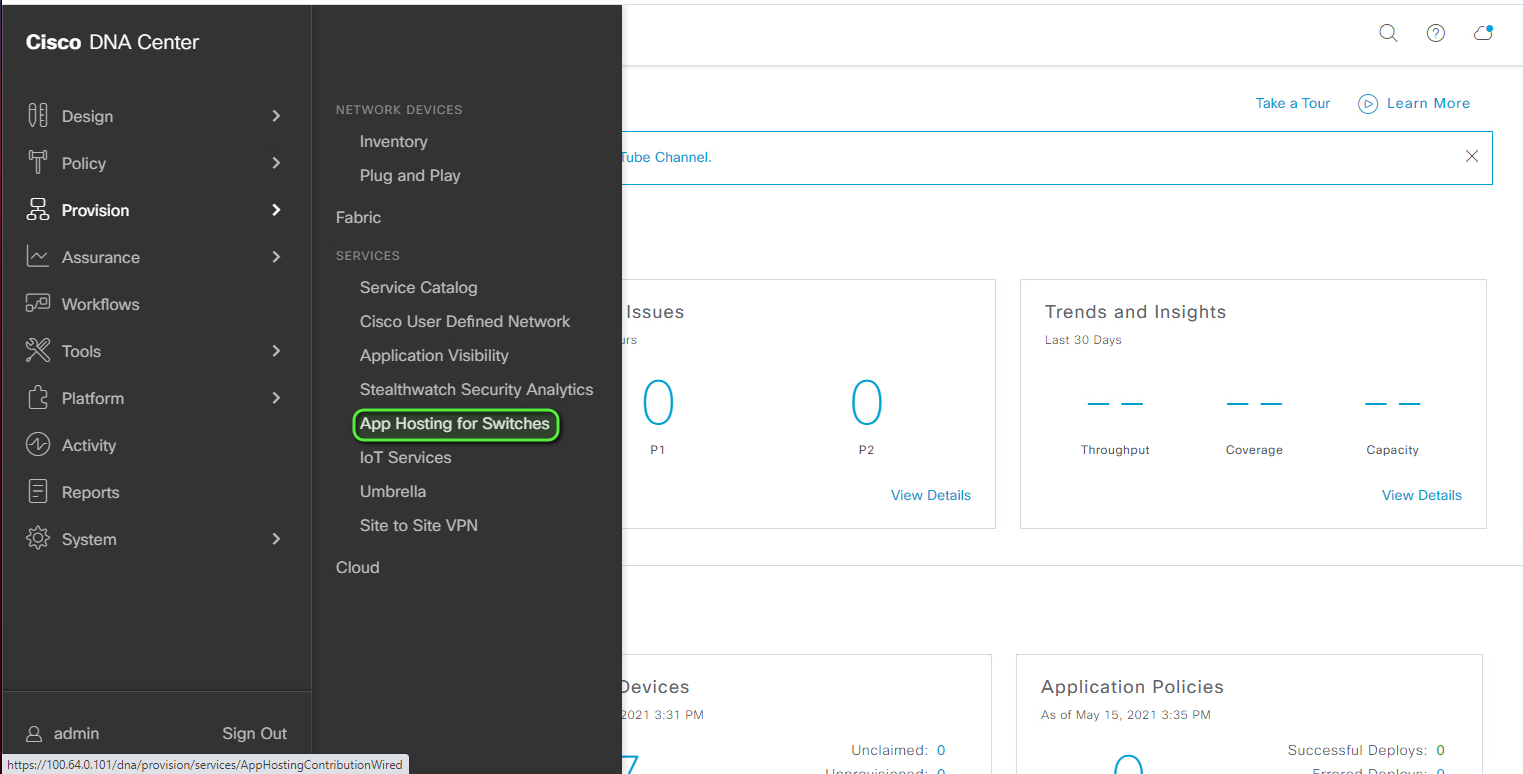
In the Cisco DNA Center GUI, navigate to Provision | App Hosting for Switches
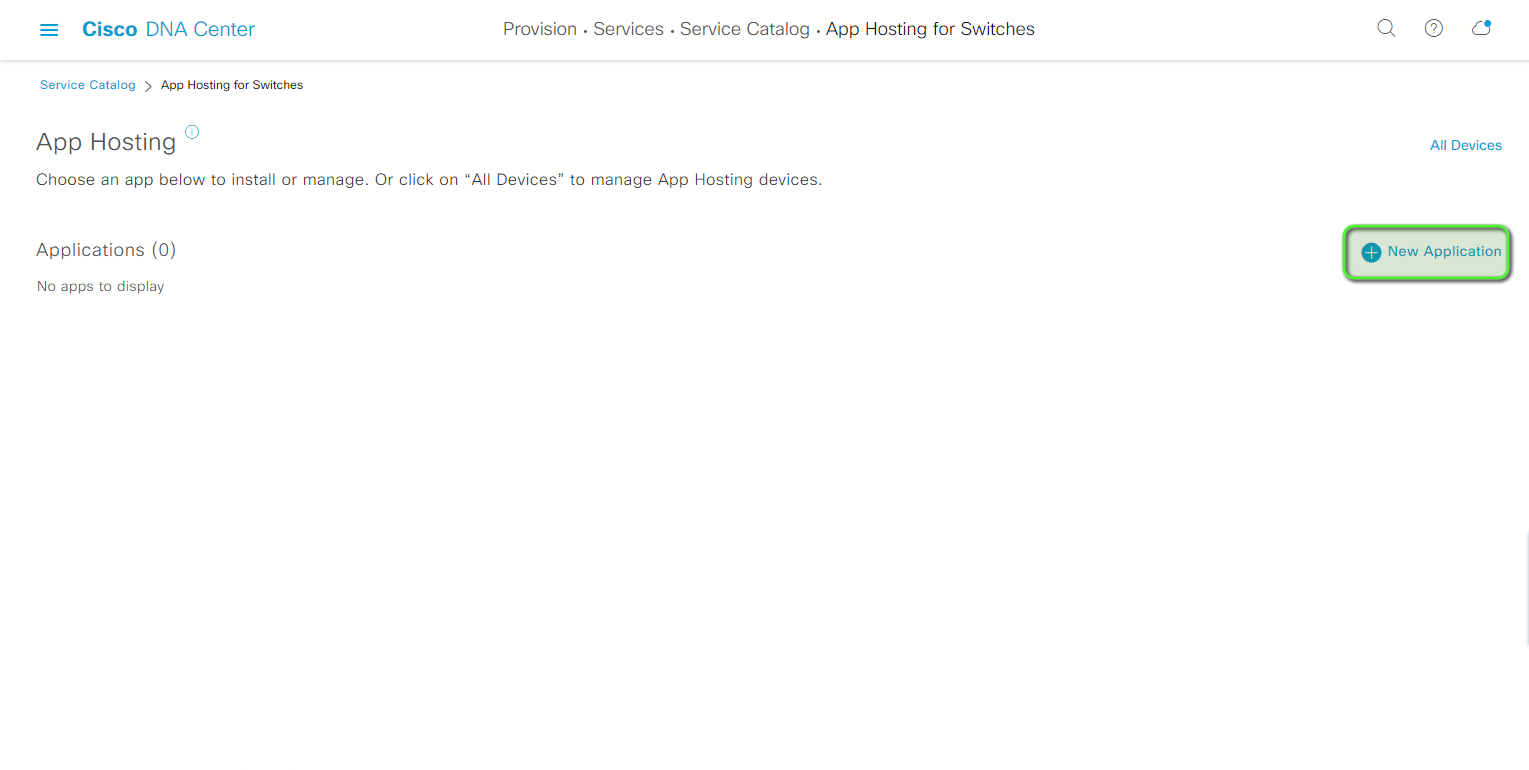
Click +New Application
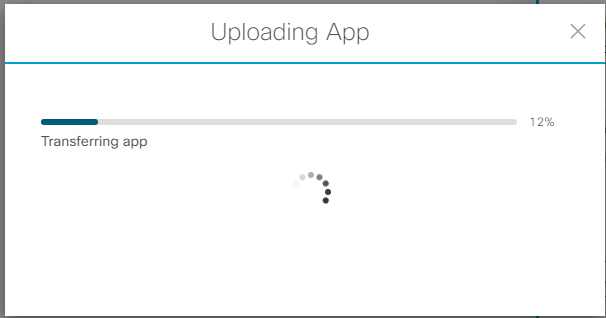
Click Select and choose our cat9kwireshark.tar file, followed by Upload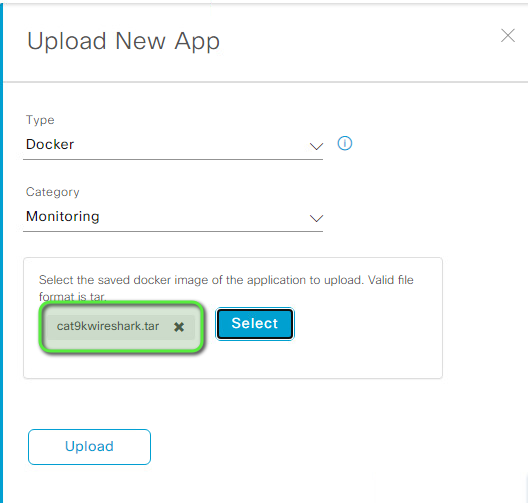
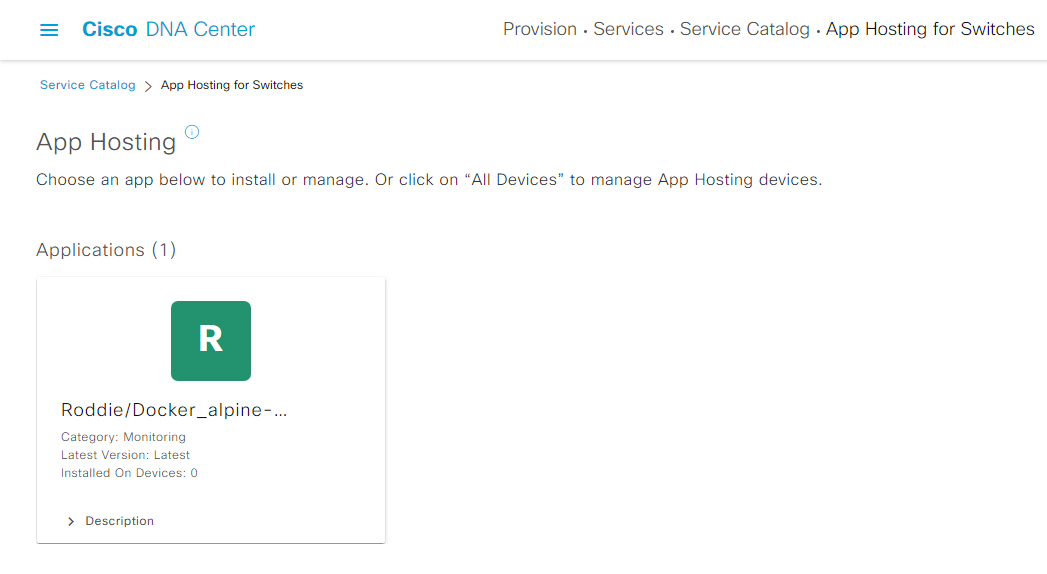
You should now see the application file being sent to DNA Center. When the transfer is complete, it should show up as an application under App Hosting.
Deploy the application to the Catalyst 9300 switch using Cisco DNA Center
Click on our new application
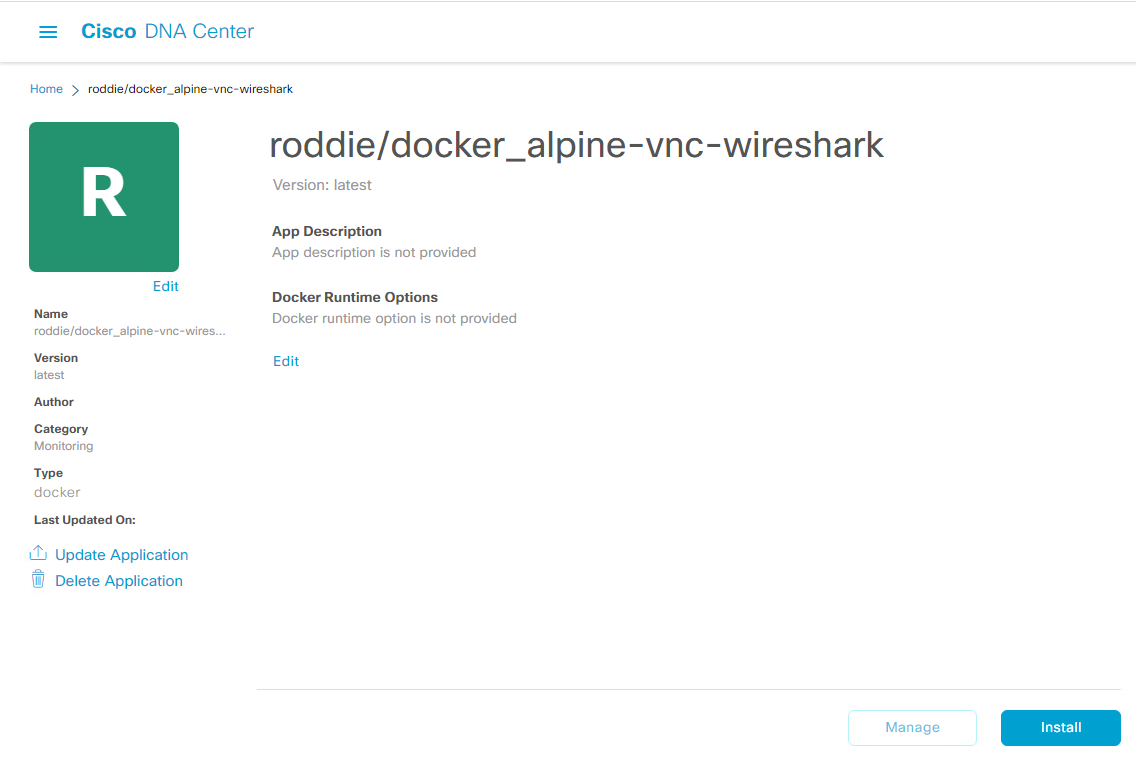
On this screen we can add a description for our application and add any Docker Runtime options that might be required for the container. This container doesn't need any extra options as the Cat9k runs each container in host mode so it will be fully accessible from the network.
Now we can select a switch on which we'll deploy our application.
Click Install to bring up your network hierarchy and select the Catalyst 9300 switch to which you want to deploy. In my case I am deploying to sjc-edge.selfserve.lab. Click Next.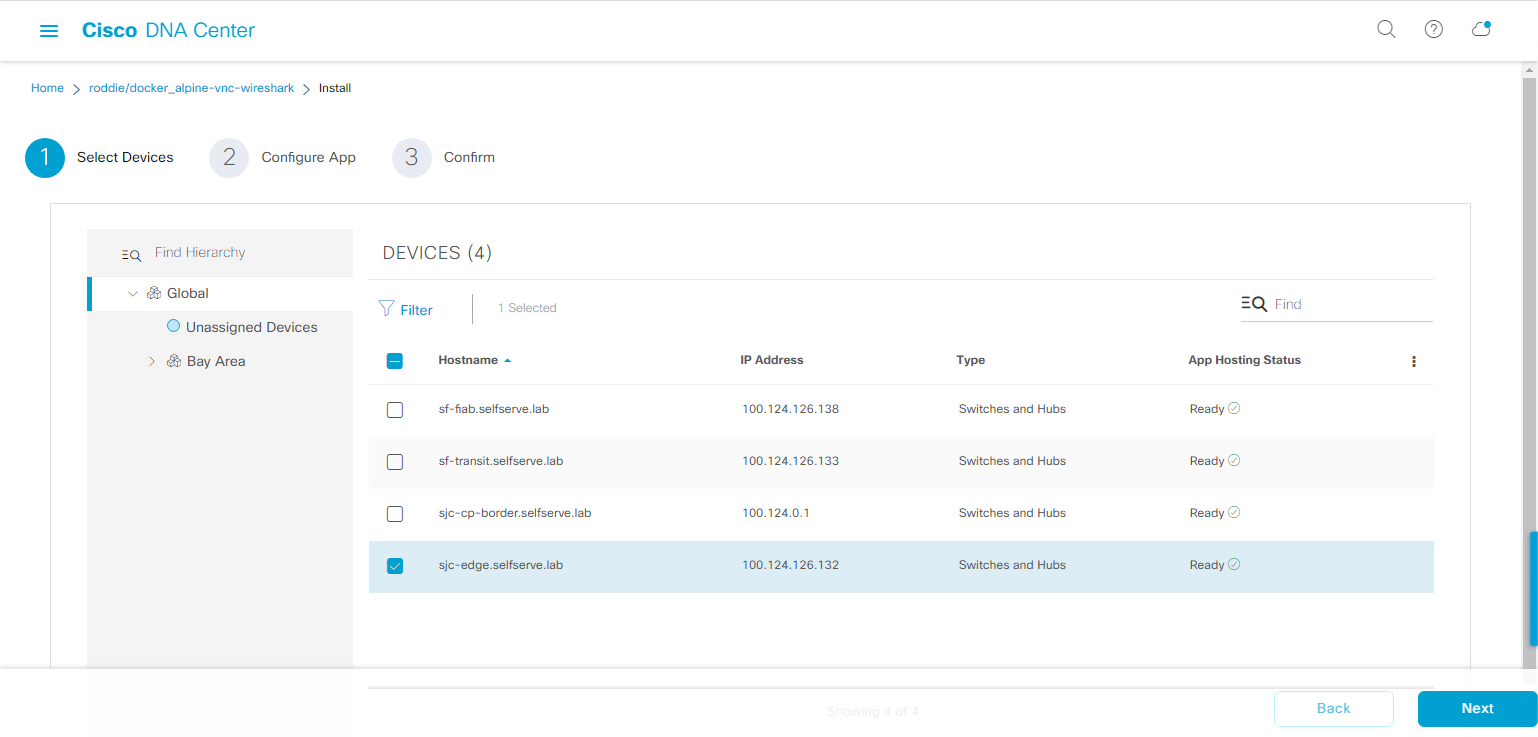
Now we have to configure our networking parameters for the new application. This involves choosing a VLAN for the application to reside on as well as the IP information that will be used for the container (if not using DHCP.) You can also add additional interfaces to the application/container for more flexibility.
In my case, I am using AP_VLAN and configuring a static IP address.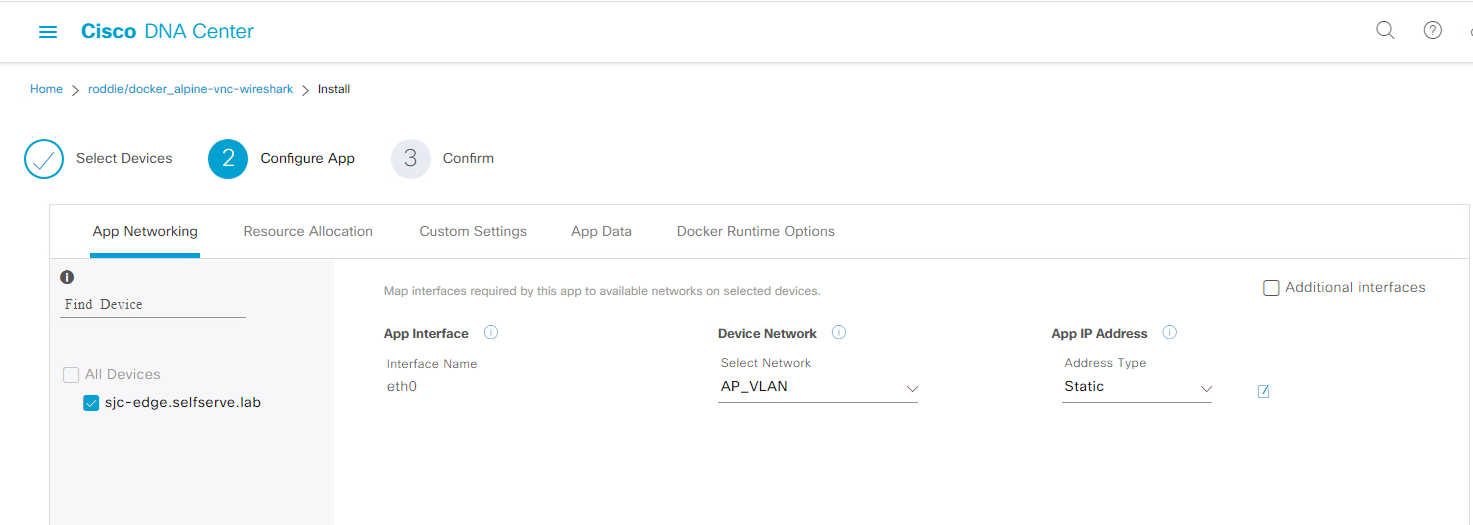
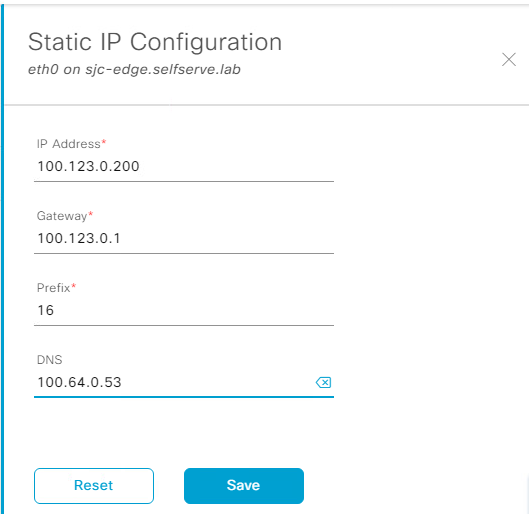
If you are using a static IP, click the little "edit" icon next to Static and enter the information.
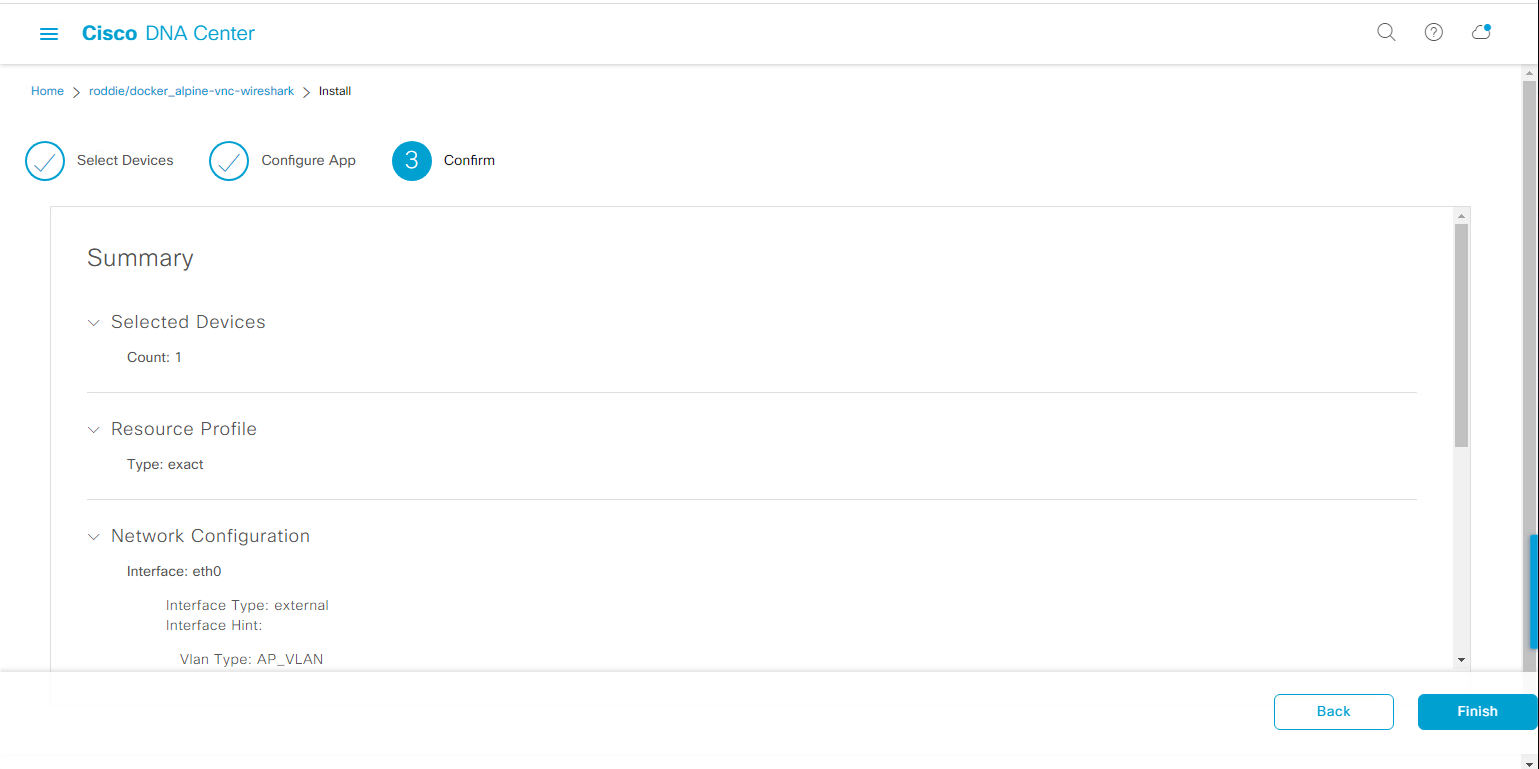
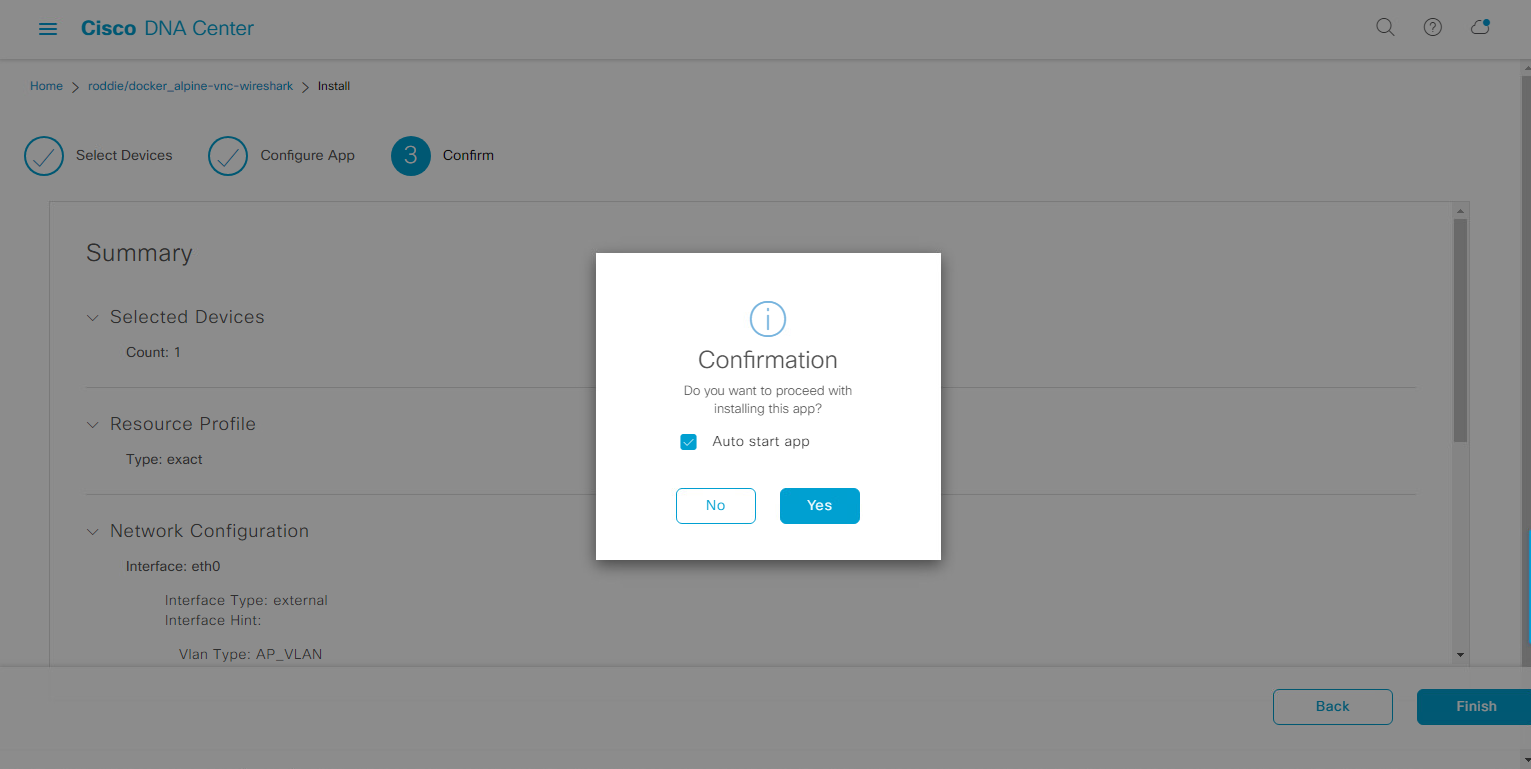
Click Next to review the summary of our deployment, and then click Finish and Yes when you're ready to deploy.
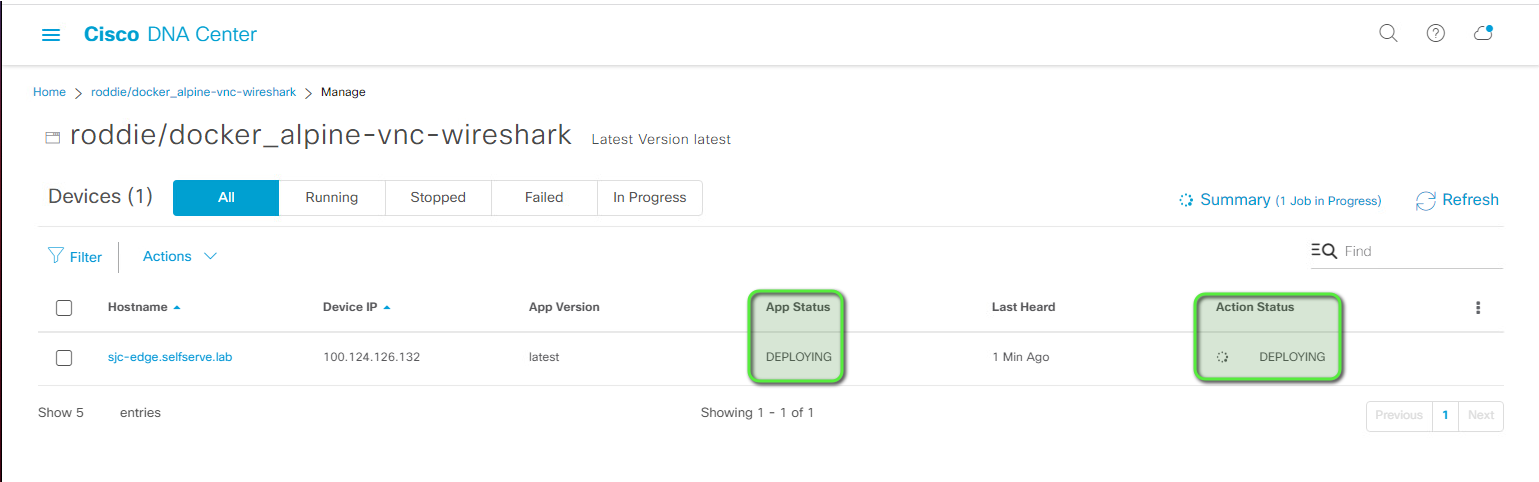
You will then be taken to the switch's application page where you will see the application as it is being deployed. After a few minutes, the App Status will change from DEPLOYING to RUNNING.
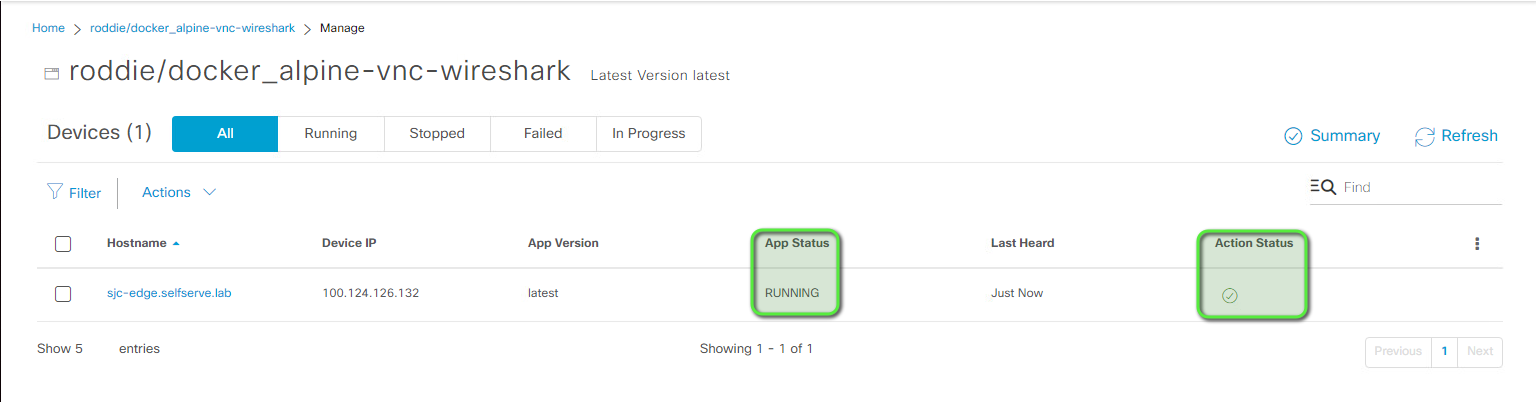
Our application is now deployed (and hopefully running) on our switch!
Test the application
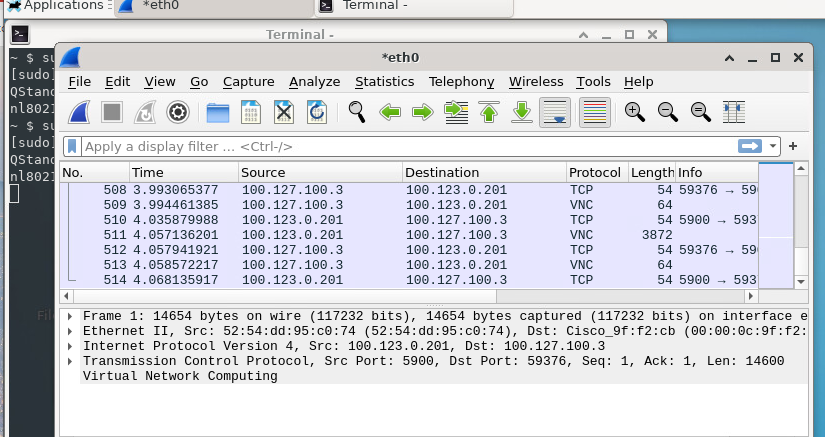
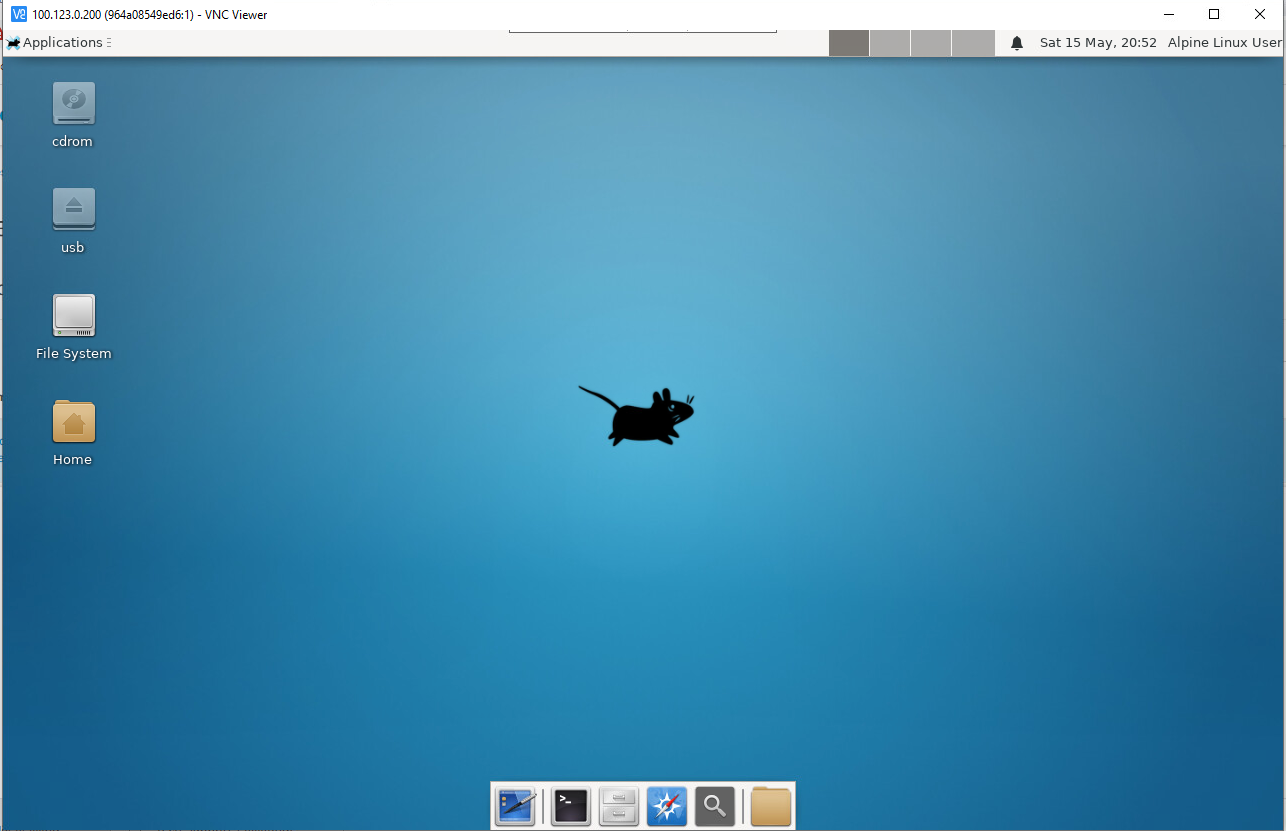
Pull up your favorite VNC client and connect to the IP address that we assigned to our container. The username/password for the container is alpine/alpine by default.I did warn you not to run this in production, right?
You should then see the Linux desktop.
Open a Terminal window on the Linux desktop and launch Wireshark with:sudo wireshark(the password isalpine)
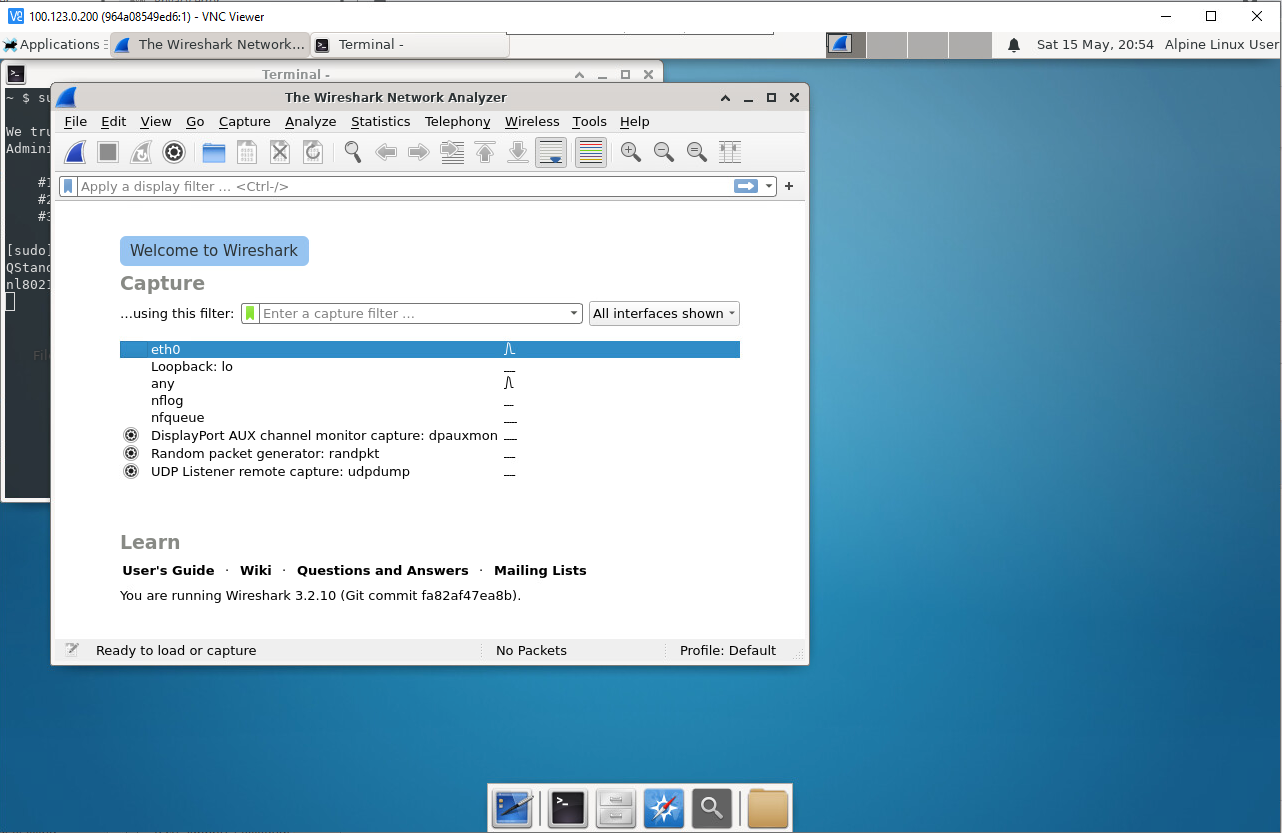
And there you have it! A Linux desktop container with Wireshark running on a Cisco Catalyst 9300 switch, and we didn't have to touch the CLI once.
But wait there's more!
So, above I covered the reasons why you probably don't want or really need to run the Wireshark container on your switch, but here's one that might be a lot more useful for network monitoring.
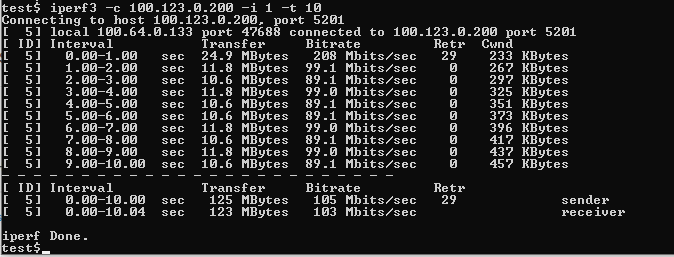
Let's run iperf3 on our Catalyst switch so we can test bandwidth to it from anywhere on the network!
This section is inspired by this repo which uses the Cisco Catalyst 9300's CLI to deploy and launch the application.
The iperf3 image for this application is maintained here. It will launch itself automatically in server mode.
To use it instead or in addition to the application above, we just need to use a different image during the "Prep the Docker image for deployment":
docker pull mlabbe/iperf3
And:
docker save mlabbe/iperf3:latest -o iperf3.tar
This will create the application file iperf3.tar for us to add to Cisco DNA Center and deploy using the same method as we did above.
Note: If you run this application along with the Wireshark application, make sure to give it a different IP address.
Once deployed, we can use a client with iperf3 on it to test bandwidth between the client and the switch.
And that's it! You can use the same methods above to deploy other services to your switches like DNS, DHCP, web servers, or really anything (with proper testing, of course).
If you have any issues with the containers or have any questions, please feel free to let me know in the comments below or Tweet at me @eiddor.